Minecraft is best experienced with friends. Whether you’re building a shared village, taking on bosses together, or competing in minigames, playing multiplayer transforms the game from a solo sandbox into a shared adventure. But if you’ve ever tried to set up a server for friends, you know it can quickly turn from exciting to overwhelming, especially if you’re not familiar with networking or server administration.
The good news? Creating a Minecraft server doesn’t have to be stressful. In this guide, you’ll learn step by step how to set up a Minecraft server that works reliably, runs smoothly, and lets you focus on having fun with your friends. We’ll cover everything from choosing the right version to troubleshooting common issues—without the technical jargon or unnecessary headaches.
By the end of this article, you’ll have the confidence and tools to get your friends connected and your world up and running.
Decide on Your Minecraft Version
Before you start downloading server software, you need to decide whether you and your friends will play Minecraft Java Edition or Minecraft Bedrock Edition.
Minecraft Java is the original PC version and offers the widest modding support, free community plugins, and a large player base. However, it only works on Windows, macOS, and Linux computers.
Minecraft Bedrock Edition is the cross-platform version available on consoles, mobile devices, and Windows 10/11. If you want to play with friends using Xbox, PlayStation, or mobile, Bedrock is your only choice. The downside is limited modding support and the need for a different server software.
Once you know which version you’ll use, you can choose the appropriate setup steps.
Hosting Options: Local or Third-Party
The next big choice is whether to host the server on your own computer or use a free/paid hosting provider.
Hosting locally gives you full control and is completely free. However, your computer must be powerful enough to run both the game and the server, and you’ll need a reliable, fast internet connection—plus, your server goes offline when your PC does.
Third-party hosts like Aternos, Minehut, or professional hosting services simplify the process, taking care of uptime, internet bandwidth, and security. Many hosts offer free plans for small groups, while paid options provide more performance.
If you only plan to play with 2–5 friends, a local server works fine. For larger groups or longer-term play, consider a hosting provider to avoid lag and downtime.
Setting Up a Java Edition Server on Your PC
If you’ve chosen Java Edition and want to host locally, follow these steps to set up your server:
- Download the Minecraft Server .jar file
Go to the official Minecraft website and download the latest Minecraft server .jar file for the version you want to run. - Create a folder for your server
Make a dedicated folder on your computer (e.g., “MinecraftServer”) and place the server .jar file inside. - Run the server .jar file
Double-click the .jar file. The first time you run it, it will generate configuration files and the EULA file. - Accept the EULA
Open the eula.txt file and change eula=false to eula=true. Save and close the file. - Configure your server
Open the newly created server.properties file in a text editor to set game mode, difficulty, max players, and more. - Start your server
Double-click the server .jar file again or run it with a command like
java -Xmx2G -Xms1G -jar server.jar nogui
This will start your server console without the graphical user interface. - Connect to your server
Open Minecraft, click Multiplayer, and enter localhost as the IP address to connect from the same computer.
Letting Friends Join Your Java Server
To let friends outside your Wi-Fi join your local server, you need to port forward on your router. This directs incoming Minecraft connections to your computer.
- Log into your router’s admin page (the address is usually on your router or manual).
- Find the port forwarding section and forward port 25565 to your computer’s local IP address.
- Give your friends your public IP address (find it at websites like whatismyip.com) so they can connect.
Remember that sharing your IP comes with security risks. Only share it with trusted friends and keep your server updated to avoid vulnerabilities.
If you’d rather skip port forwarding, services like Hamachi or Radmin VPN can create virtual networks so friends can connect directly, but they require installing additional software.
Setting Up a Bedrock Edition Server
If you’re playing Bedrock Edition, you’ll need different server software. Microsoft provides official Bedrock server software for Windows and Linux.
- Download the Bedrock server package from Minecraft’s official website.
- Extract the files into a folder.
- Open the server.properties file to customize your settings.
- Launch the server by running bedrock_server.exe on Windows or the appropriate script on Linux.
Give your friends your public IP and port (default is 19132) so they can join your server on consoles, mobile, or Windows.
Bedrock servers don’t require Java and tend to use less CPU, but modding options are more limited.
Using Free Third-Party Hosts
If you don’t want to worry about hardware, internet speeds, or port forwarding, free hosts like Aternos or Minehut make setting up a server almost effortless.
- Create an account on their website.
- Choose Java or Bedrock depending on your version.
- Configure your server using their web-based control panel.
- Start the server and share the server IP they provide with your friends.
These hosts are great for casual play with friends, but keep in mind they often shut down servers automatically after periods of inactivity, and performance can vary based on demand.
Customizing Your Server for Fun
Once your server is up, it’s time to make it your own. Even for small groups of friends, customization can keep things fresh and exciting.
On Java servers, plugins let you add features like teleport commands, economy systems, and protection against griefing. Consider installing EssentialsX, LuckPerms for permissions, and WorldEdit for quick building.
For Bedrock, options are more limited but you can install behavior packs and some add-ons to enhance gameplay.
Remember to keep things balanced. Too many plugins or mods can slow down your server, especially if you’re using a free host or limited hardware.
Creating a Welcoming Spawn Area
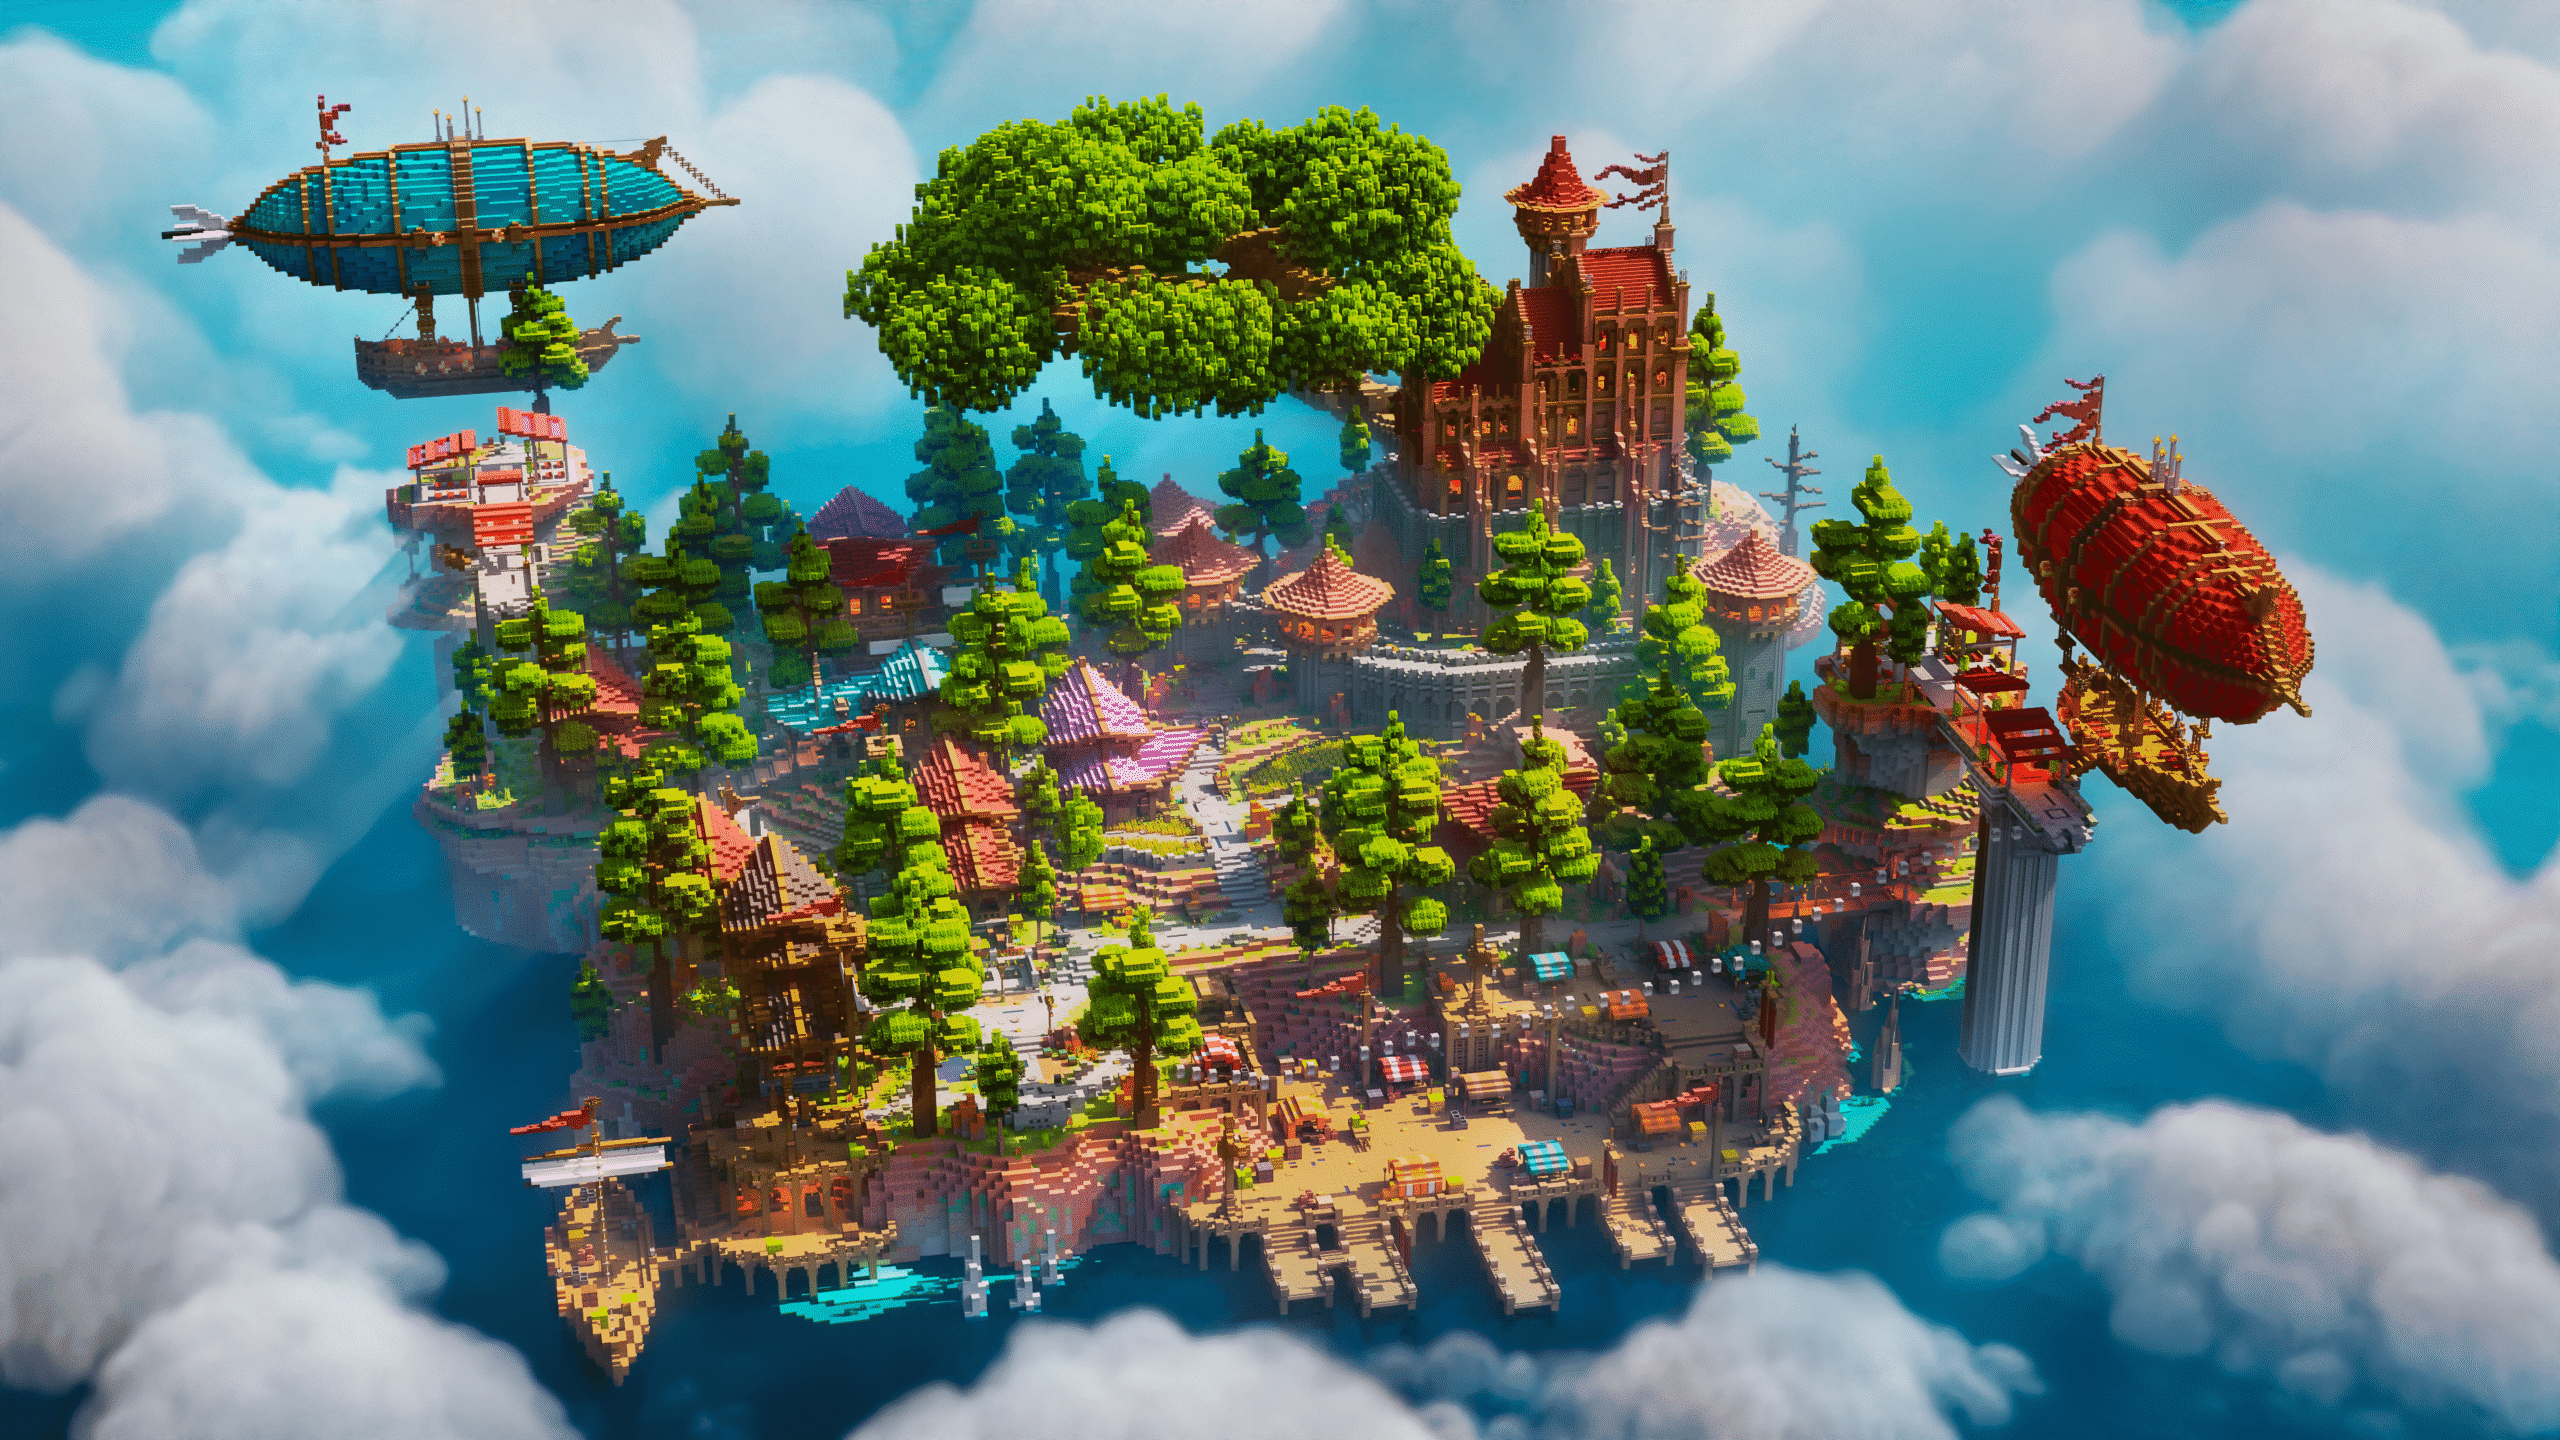
First impressions matter—even for a server just for friends. Build a small spawn area where players can gather before setting out. Add a welcome sign, some starter chests, or a cozy base to encourage collaboration.
If building isn’t your strength, you can find free schematics or affordable pre-made spawns to import into your world.
Backing Up Your World
It’s easy to forget, but backing up your world is essential if you want to avoid losing progress to crashes, corruption, or mistakes. Before big changes or every few days, copy your world folder to a safe location. For local servers, this means copying the /world folder. For hosted servers, most providers offer automated backups or manual download options.
Having backups gives you peace of mind so you and your friends can experiment and build without fear of irreversible mistakes.
Keeping Things Secure
Whether you’re hosting locally or through a third-party, server security is important. Set a whitelist if you only want friends to join. This prevents strangers from connecting if your IP is leaked.
For Java servers, enable online-mode=true so the server checks for legitimate Minecraft accounts, helping prevent some types of hacks.
Make sure you use strong passwords for control panels or remote desktop tools, and keep your software up to date.
Managing Your Group
Even among friends, disagreements can happen. Establish some basic ground rules: will you use keepInventory? Is PvP allowed? Can players build anywhere?
If your group grows beyond a few players, consider designating one or two moderators to help resolve conflicts or keep things organized.
Using Discord can enhance communication. Create a free server with channels for chat, announcements, and screenshots. It helps your group stay connected even when not in-game.
Encouraging Group Projects and Events
The best memories in Minecraft often come from shared experiences. Plan community builds, organize adventure nights, or set challenges like speedrunning the Ender Dragon together. These events keep everyone engaged and make your server feel alive.
Set up a shared storage area or resource hub to encourage teamwork. Build landmarks together or create a town that grows as you play.
Troubleshooting Common Issues
If your friends can’t join, check:
- Is your server software still running?
- Are your firewall settings allowing Minecraft connections?
- Is your IP address correct and has it changed (common for dynamic IPs)?
- Have you forwarded the right port (25565 for Java, 19132 for Bedrock)?
Restarting the server or your router can fix many issues. For persistent problems, consult the official Minecraft forums or hosting provider documentation.
Conclusion
Creating a Minecraft server for friends doesn’t have to be a stressful technical nightmare. By choosing the right version, setting up your server with care, and customizing your world, you can build a place where amazing memories are made. Whether you host locally for a quick weekend session or invest in a hosting provider for a long-term world, the real magic happens when you’re laughing, exploring, and building with your friends.
Ready to take your server to the next level? Visit the Keystone Builds store for affordable, high-quality pre-built Minecraft maps that will wow your friends and inspire new adventures. From stunning spawns to detailed adventure worlds, we have everything you need to make your server unforgettable.


