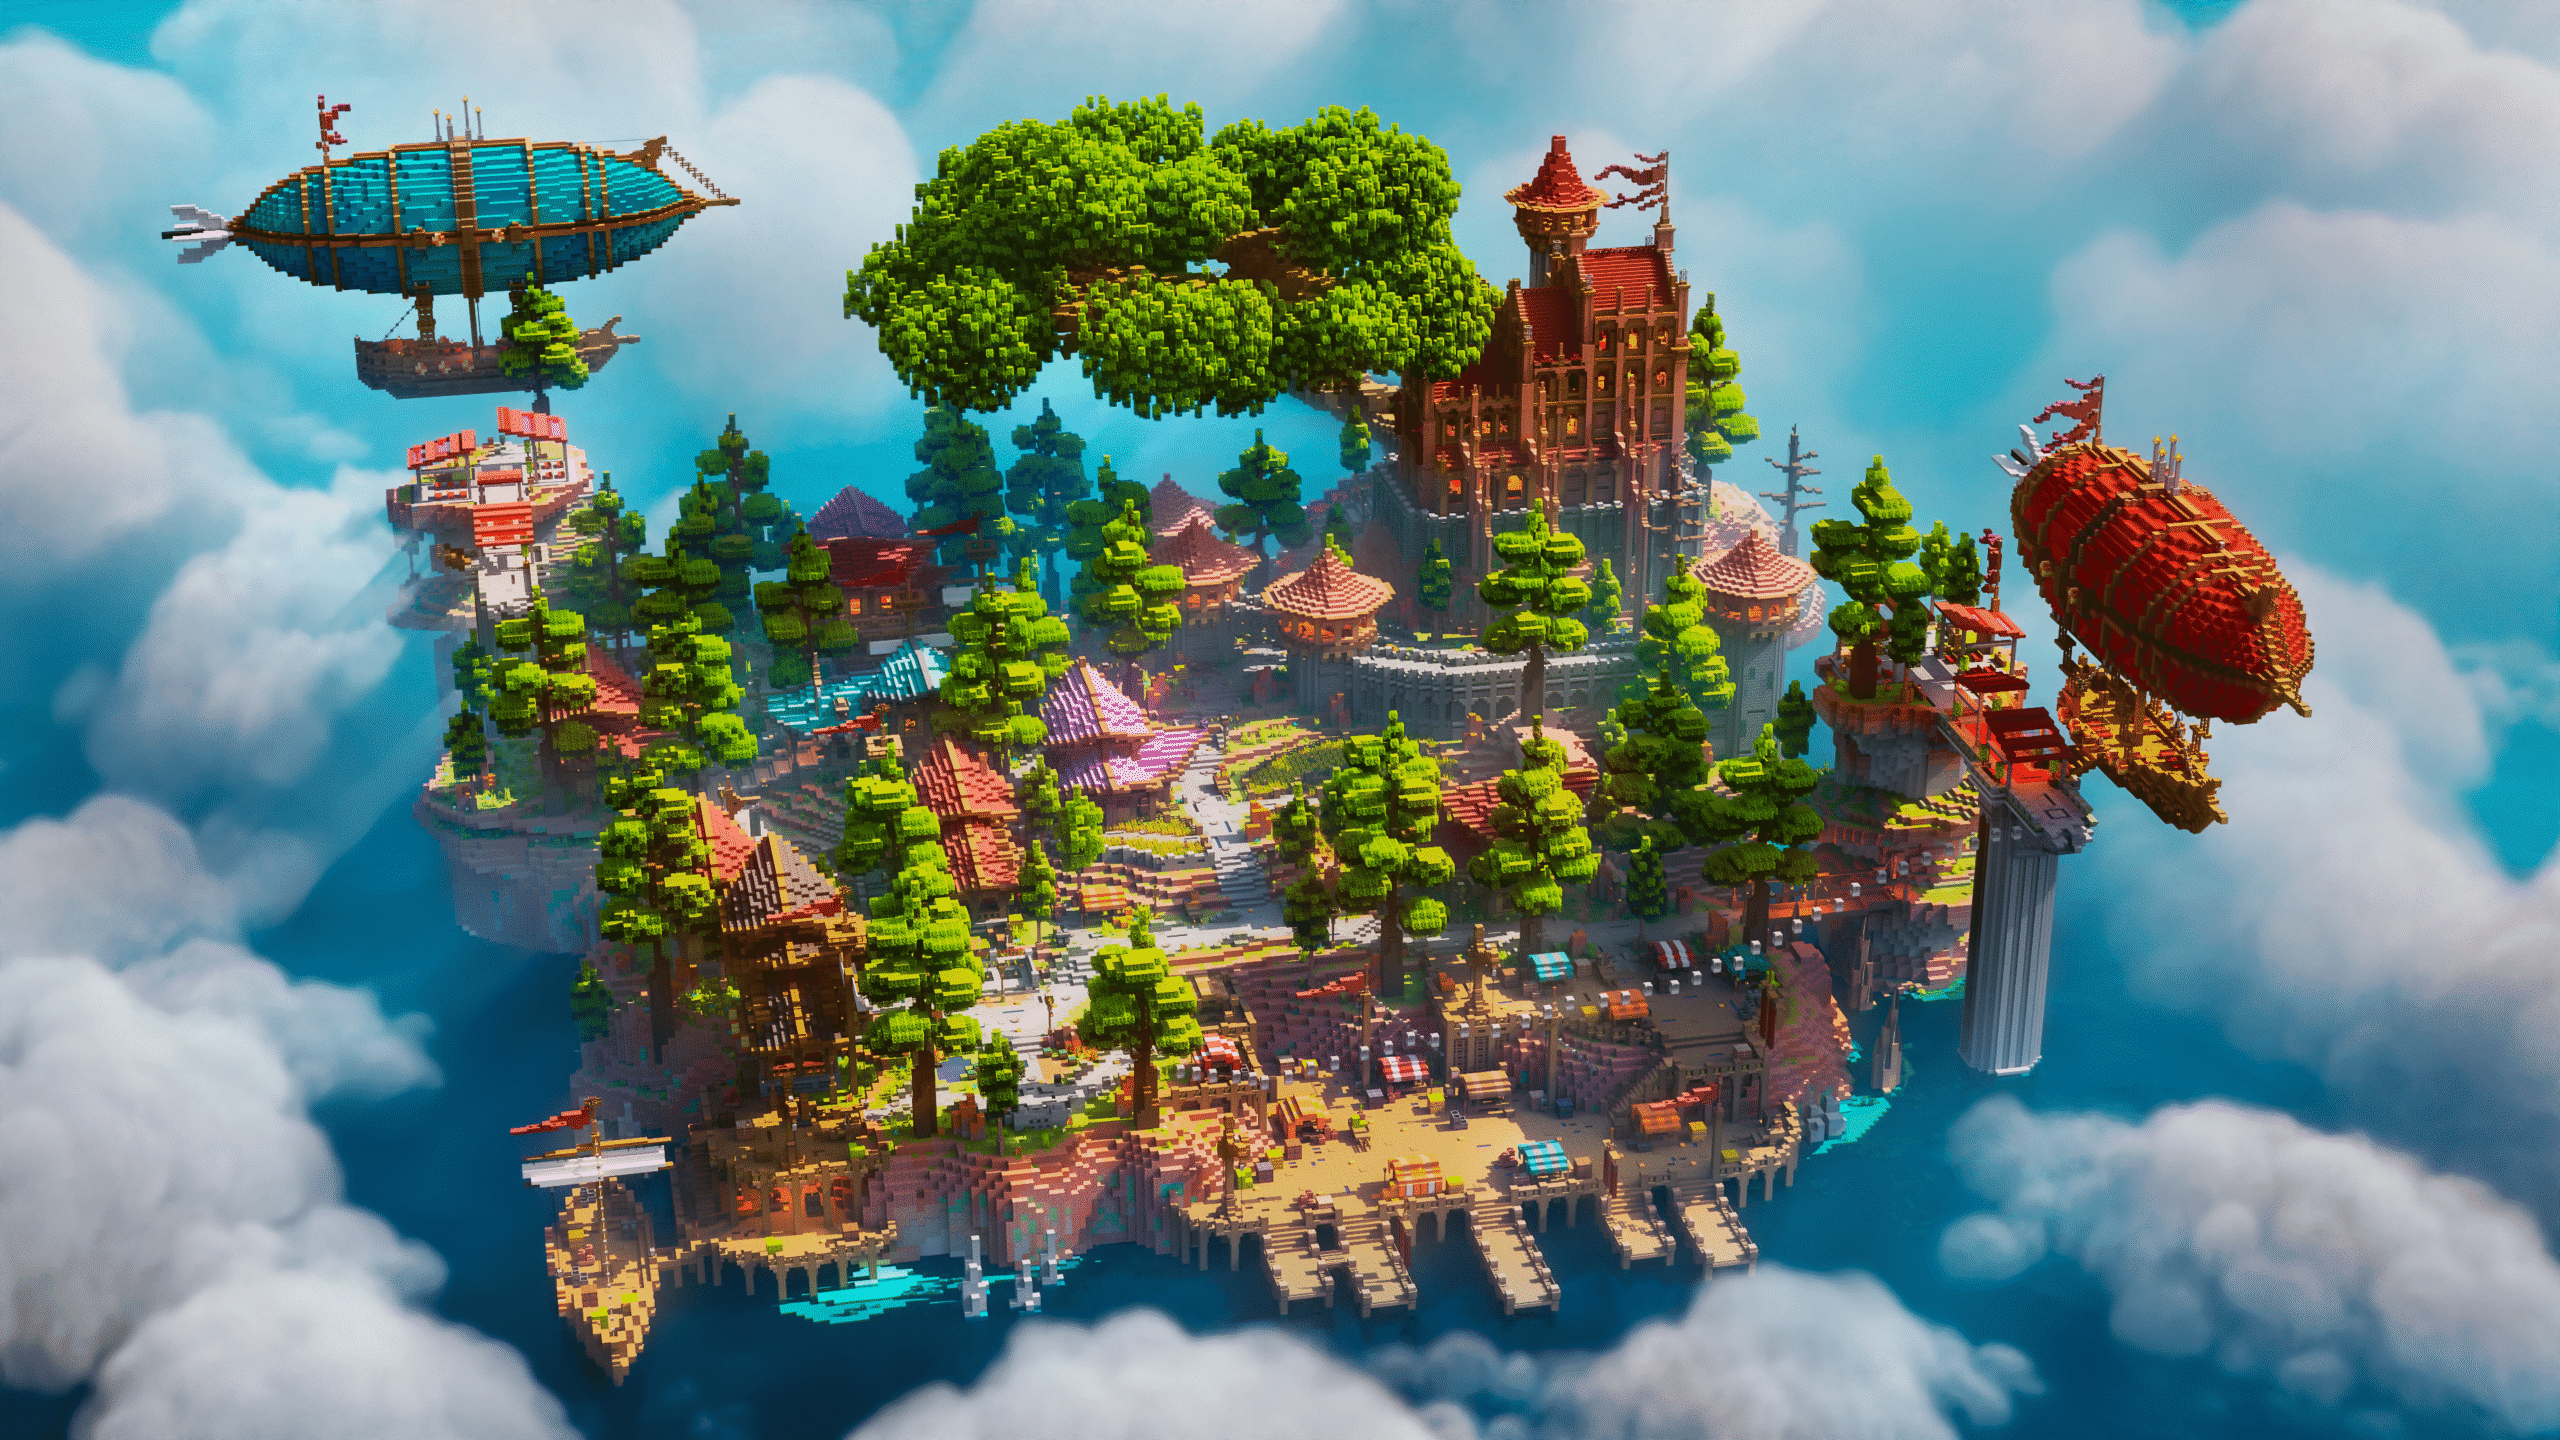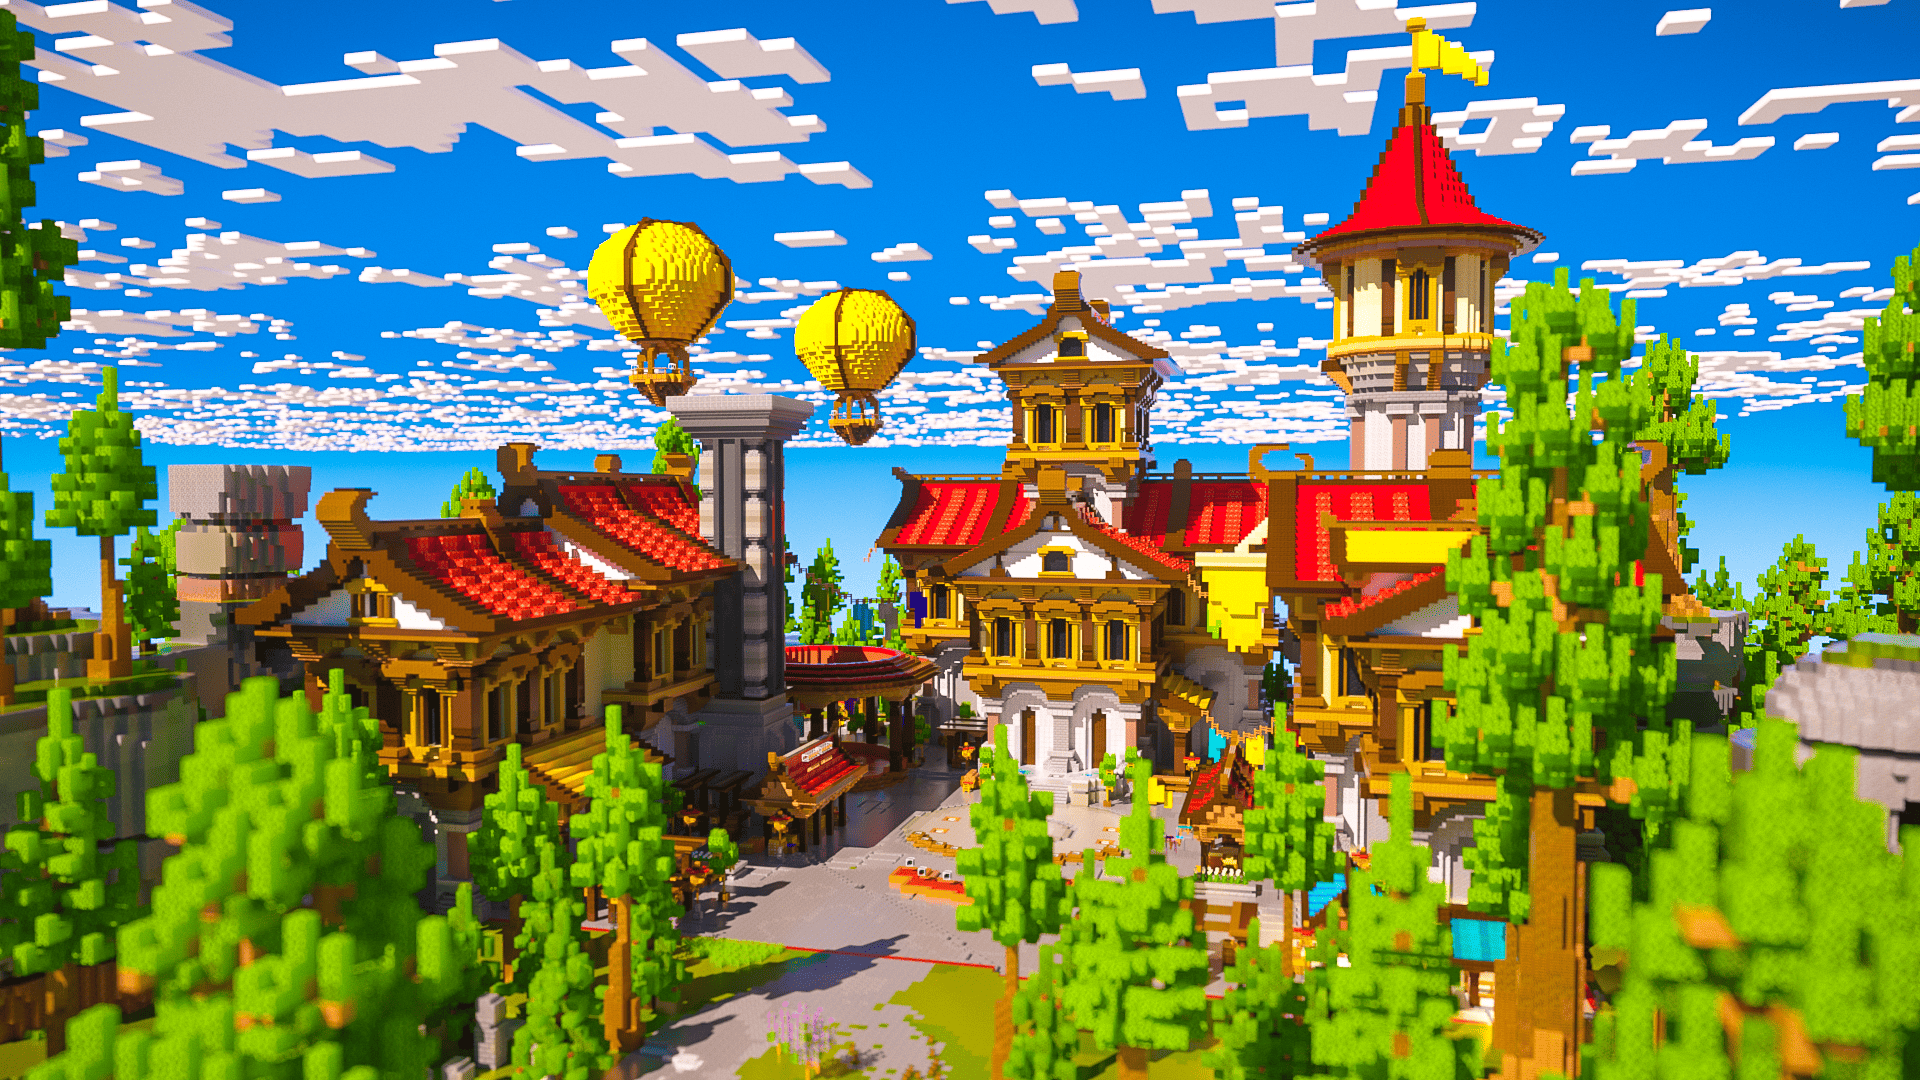
Custom Minecraft maps are a game-changer. They inject fresh excitement, challenge, and creativity into your world—whether you’re exploring massive adventure dungeons, building a bustling town in survival, or hosting custom minigames with friends. But a lot of players hesitate to dive in, thinking that installing maps is complicated or technical. Good news: it’s not. You don’t need coding skills or server admin experience. With just a few simple steps, anyone can install a custom map and experience a whole new Minecraft adventure that feels tailor-made.

Whether you’re playing solo, managing a server, or setting up something fun for your friends, custom maps expand what’s possible in Minecraft. From jaw-dropping landscapes to carefully crafted questlines, pre-built worlds can save you time while offering unforgettable play experiences.

Understanding Minecraft Map Formats
Before we dig into the installation instructions, let’s talk formats. Knowing what kind of file you’re working with will help you follow the right steps and avoid confusion.
- .zip or .rar Files: These are compressed folders containing all the data for the map. This is the most common format for Minecraft Java Edition and often includes subfolders like region, data, and a critical file called level.dat. These files need to be extracted before use.
- .mcworld Files: Used primarily in Minecraft Bedrock Edition (on Windows 10, iOS, and Android), these are ready-to-launch files. Just tap or double-click them and Minecraft will handle the rest. Super easy, super fast.
- .schematic and .schem Files: These are widely used formats for importing and exporting builds with tools like WorldEdit and FAWE (Fast Async WorldEdit). Instead of replacing your entire world, these files let you paste custom structures into your existing maps. To use them, you’ll need a mod or plugin that supports schematic files, such as WorldEdit for Java servers.
Each format is designed to keep things organized and accessible. As long as you know which version of Minecraft you’re using—Java or Bedrock—you’re already halfway there.
How to Install Custom Maps on Minecraft: Java Edition (PC/Mac)
Installing a custom map on Java Edition is a breeze once you know where your Minecraft saves folder lives. Here’s a detailed step-by-step breakdown:
Step-by-Step Guide:
Step 1: Download the Map
Find a reliable source like Planet Minecraft, Minecraft Forum, or Keystone Builds. Always double-check the map version to make sure it matches your Minecraft client. If you’re running Minecraft 1.20.1, don’t download a map made for 1.16 unless it’s backward compatible.
Step 2: Extract the Map Files
If the map is in a .zip or .rar file, use software like 7-Zip or WinRAR to extract its contents. Look for a folder containing files like level.dat, which tells Minecraft how to load the world properly. Make sure the extracted folder has all the essential files before moving it.
Step 3: Locate the Minecraft Saves Folder
- Windows: Press Win + R, type %appdata%\.minecraft\saves, then hit Enter.
- Mac: Open Finder, press Command + Shift + G, type ~/Library/Application Support/minecraft/saves, and hit Go.
Step 4: Transfer the Map Folder
Drag and drop the extracted map folder into the saves directory. Do not place the entire zip file here—only the extracted folder. Otherwise, Minecraft won’t recognize it.
Step 5: Launch Minecraft and Explore
Start Minecraft, go to Singleplayer, and you’ll see your new map on the list. Click it, load in, and start exploring the fresh new world.
How to Install Custom Maps on Minecraft: Bedrock Edition (Windows 10, iOS, Android)
Installing maps on Bedrock is also simple—sometimes even easier. Just know whether your download is a .mcworld or a .zip file and follow the matching method.
For .mcworld Files:
Step 1: Download the .mcworld file
These files are plug-and-play and often come directly from creators or map stores like Keystone Builds.
Step 2: Open the File
Double-click or tap the file. Minecraft should launch automatically and import the map. Within moments, it appears in your world list under Play.
For .zip Files:
Step 1: Download and Extract the Map Files
Use a program like WinRAR, 7-Zip, or your mobile file explorer to unzip the files.
Step 2: Locate the minecraftWorlds Folder
- Windows 10: Press Win + R, type %localappdata%\Packages\Microsoft.MinecraftUWP_8wekyb3d8bbwe\LocalState\games\com.mojang\minecraftWorlds, and hit Enter.
- iOS: Use a file manager app to browse to Apps > Minecraft > Documents > games > com.mojang > minecraftWorlds.
- Android: Navigate through your file explorer to games/com.mojang/minecraftWorlds.
Step 3: Move the Extracted Map Folder
Place the folder containing level.dat directly into minecraftWorlds. Double-check that you haven’t nested the map folder inside another folder.
Step 4: Launch Minecraft and Access Your New Map
Open Minecraft, go to Play, and scroll through your worlds list. Your map should be visible and ready to load.
How to Install Custom Maps on Minecraft: WorldEdit Edition
This method is specifically for players who want to insert individual builds into their existing Minecraft world using schematic files. It’s ideal if you’re running a creative server, designing a hub, or customizing a large world with multiple pre-built components.
Step 1: Make Sure You Have WorldEdit or FAWE Installed
WorldEdit is available as a mod (for singleplayer) or a plugin (for servers). FAWE is a high-performance fork of WorldEdit, optimized for asynchronous operations—perfect for large-scale edits.
Step 2: Download the .schematic or .schem File
Most map creators distribute their builds in these formats. Make sure the file is compatible with your version of WorldEdit/FAWE.
Step 3: Place the File in the Correct Folder For WorldEdit:
- Go to your server or Minecraft directory.
- Locate the WorldEdit folder, then open the “schematics” folder.
- Drop the .schematic or .schem file inside.
Step 4: Load the Schematic in-Game
- Use the command: //schem load filename (for .schem) or //load schematic filename (for .schematic)
- Then use: //paste (you can use //paste -a to skip air blocks)
Step 5: Position and Adjust
Make sure you’re standing where you want the build to be pasted. You can also use commands like //undo and //rotate to refine the placement.
Using this method, you don’t need to install a full map—just insert custom structures wherever you want.
Troubleshooting Common Issues
Even when you do everything right, hiccups can happen. Here’s what to check if things don’t work the first time:
Map Not Appearing?
- Ensure the folder is in the correct directory: saves for Java, minecraftWorlds for Bedrock.
- Open the folder and verify that it contains a level.dat file directly inside, not buried in subfolders.
- Restart Minecraft after adding the map, just in case it hasn’t refreshed.
Version Compatibility Problems?
- Confirm the map was made for the version of Minecraft you’re running.
- Some maps break with newer updates—if possible, download an updated version of the map or roll your game version back temporarily.
Files Not Extracting Correctly?
- Update your extraction tool.
- On mobile, make sure the file manager app has the right permissions.
- Avoid renaming files unless instructed to do so by the map’s creator.
Unlock New Worlds Without the Headache
Installing custom Minecraft maps might sound intimidating at first, but it’s actually one of the easiest and most rewarding ways to level up your game. Whether you’re exploring magical forests, parkouring through floating islands, or managing your own roleplay city—custom maps open doors to unlimited creativity and fun.
And at Keystone Builds, we’re here to make it even easier. Our collection of high-quality, affordable pre-built maps is crafted by experienced builders who care about performance, aesthetics, and gameplay flow. Whether you’re on Java Edition or Bedrock, we’ve got maps ready to go—all optimized for smooth installation and epic exploration.
Ready to upgrade your Minecraft world without touching a line of code? Check out our store now and start building your next great adventure. Our maps aren’t just beautiful—they’re practical, balanced, and community-tested for a flawless experience.